
onPageLoad Email Form
Version: 2.0
Installation
After successful UNZIP of the file onPageLoadForm_UNZIP.zip you will find the module zip file and the ReadMe.txt file inside the folder.
- For Joomla 3.x install: mod_onpageload_form3.x_vX.x.zip
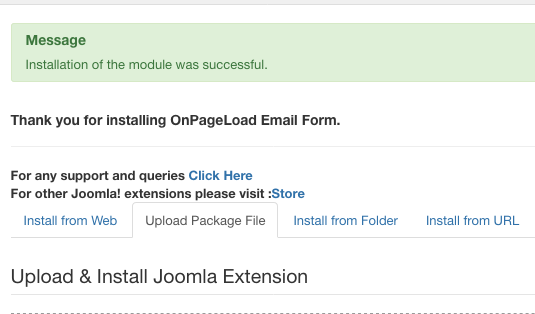
Go to Extensions > Extension Manager and click on the Upload Package File tab.
Click on browse to choose the correct installation file and click on "Upload and Install"
Module Settings
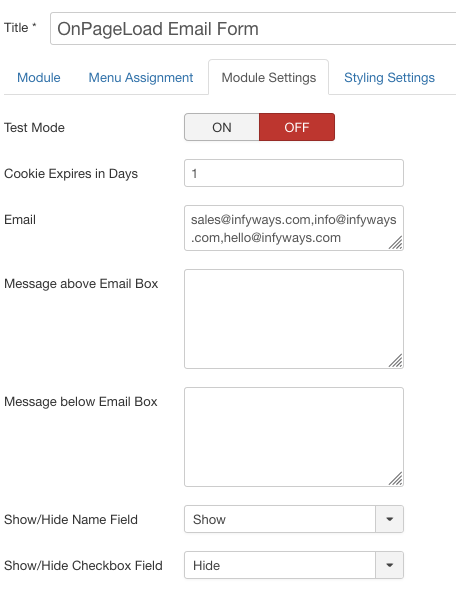
- Test Mode: If the test mode is set to ON cookies doesn't get stored in the browser. Once you have completed all the settings you can set it to OFF. The feature is provided to complete all the settings properly before the cookie is set for the browser and you don't have to clear your browser cookie to complete the correct settings again and again. If you want the popup to open again and again for every single visit then you can set it to ON, the cookie won't get stored.
- Cookie Days: This accepts the numeric value for example you want the popup to appear again after x number of days.
- Email: Enter the email address where you want to send the notification. You can add multiple email address separated by a comma.
- Message Above Email Box: You can add any message to the header of the popup. It can be text or HTML.
- Message Below Email Box: You can use the box to add terms and conditions text. The field also accepts HTML and plain text.
- Show/Hide Name Field: Option to show or hide the name field in the popup.
- Show/Hide Checkbox: You can show or hide the Terms and Conditions checkbox.
Styling Settings

- Height of Popup: Mention the height of the email popup. You can set it to 400 which means 400px. Don't mention px or % in the field.
- Width of the Popup: Set the width of the popup in pixels. Example: 600
- Button Color: Select the button color of the submit/send button using the color picker.
- Button Text Color: Select the text color of the button.
- Button Hover Color: Hover color of the button can be selected using the color picker.
Label Settings

You can easily set the text of each label in the popup form field in this Label Settings tab
- Name Label: Set the text of the Name Label.
- Email Label: Set the text of the Email Label of the form.
- Send Label: Set the text for the submit or Send button.
- Checkbox Label: The label beside the Checkbox. It can be plain text or HTML. You can also insert a link using <a href="YOUR_LINK" target="_blank">TERMS & CONDITIONS</a>
- Email Subject: Set your own email notification subject.
Advanced Settings
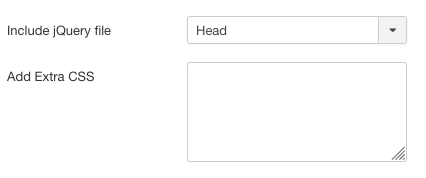
- Include jQuery Files : Incase of any jQuery related issues it is recommended to load the JS in body instead of head.
- Add Extra CSS : You can add extra css directly by adding into this field.
Troubeshooting
- if the popup doesn't load then in the Advanced tabs first try to set the Include Js file to Body instead of head and see if it starts working.
- Check properly that you have activated the module in an existing template position.
- If you are using Firefox or google chrome the right click on your webpage and click on view page source. In the source code see if file like jquery.fancybox.js and jquery.fancybox.css are loading. If the files aren't loading then it will make sure that module isn't activated on the page.
- If the Joomla cache is activated try to clear it once after you make the changes to the module parameter settings.