
Fullscreen Image Gallery
Installation
-
Unzip the Downloaded File:
- After downloading the
FullScreenImageGallery_UNZIPfile, extract it. Inside the extracted folder, you should find the package zip which contains both module and the plugin, and aReadMe.txtfile.
- After downloading the
-
Locate the Installation Package:
- In the extracted files, look for the package named
pkg_fullscreen_gallery_X.x.zip. This is the installation package for Joomla 4.x and 5.x.
- In the extracted files, look for the package named
-
Access Joomla Extension Manager:
- Log in to your Joomla admin panel.
- Navigate to
Extensions>Extension Manager. This is where you can manage all extensions, including installation, updates, and removal.
-
Upload the Installation Package:
- In the Extension Manager, click on the
Upload Package Filetab. This option allows you to install extensions by uploading their package files. - Click on
Browseor a similar button (this may vary depending on your browser) to select thepkg_fullscreen_gallery_X.x.zipfile from your computer.
- In the Extension Manager, click on the
-
Install the Extension:
- After selecting the file, click on
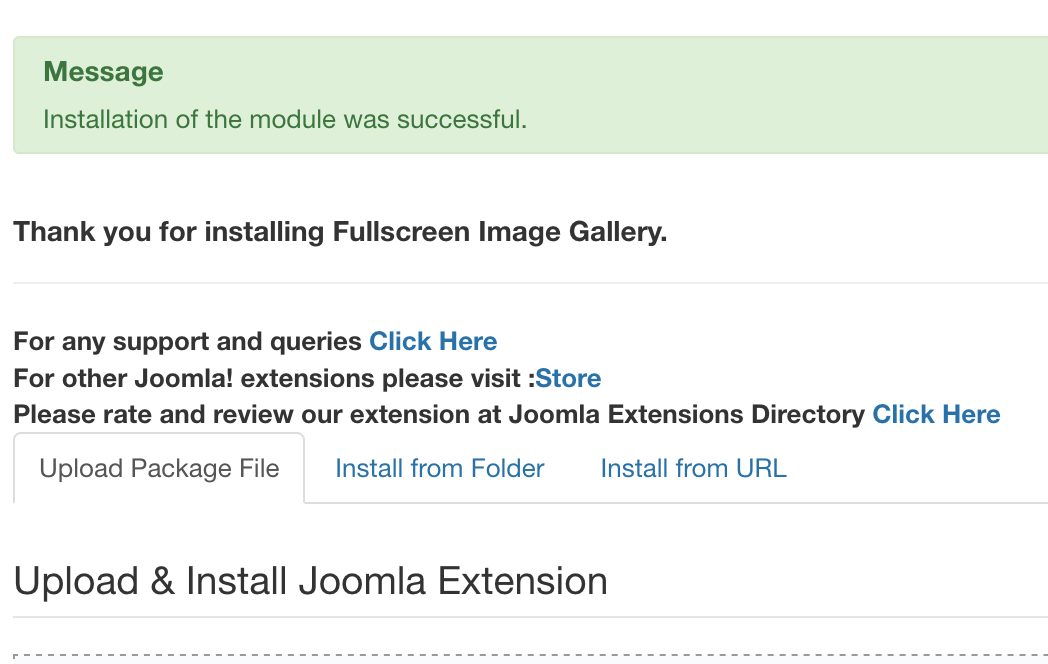
Upload and Install. Joomla will upload the file and automatically start the installation process. - Wait for the process to complete. You should see a success message once the installation is finished.
- After selecting the file, click on
-
Post-Installation Setup:
- After installation, you might need to configure the module and plugin settings based on your requirements. You can usually find these settings in the
Extensions>ModulesandExtensions>Pluginssections of your Joomla admin panel. - Refer to the
ReadMe.txtfile or any other documentation provided with the package for specific configuration instructions or troubleshooting steps.
- After installation, you might need to configure the module and plugin settings based on your requirements. You can usually find these settings in the
Module Image Settings

Styling Settings

-
Overlay Controls Color: This is the color for the controls that appear on the image overlay, like navigation arrows or close buttons. The color is set using a hex code, for example,
#ff0000for red. -
Overlay Color: The background color of the overlay that appears when you click on an image. This is also defined using a hex code, such as
#4698fcfor a blue shade. -
Thumbnail Margin: The space around each thumbnail image, specified in pixels. A margin of
2means there will be a 2-pixel space around each thumbnail. -
Thumbnail Border: The thickness of the border around each thumbnail, in pixels. A border of
2sets a 2-pixel thick border. -
Thumbnail Border Color: The color of the thumbnail border, defined by a hex code like
#ccccccfor a light grey. -
Select Caption Font: Allows you to define the font for the captions. It can be set to a default or a user-defined option. If "User Defined" is selected, you can choose a specific font.
-
Font: The actual font family used for the captions, such as 'Open Sans'. You can use any google fonts or system default fonts.
-
Title Background Color: The background color for the title of the image or gallery, with a hex code like
#000000for black. -
Title Color: The color of the title text itself, typically set against the title background color for contrast.
#ffffffis white. -
Title Font Size: The size of the title font in pixels. For example,
12would set the font size to 12 pixels. -
Title Font Weight: The weight (thickness) of the title font, options like 'Normal', 'Bold', or numerical values indicating the weight of the font.
Advanced

- Add Extra CSS : You can add extra css directly by adding into this field.
Plugin Shortcode
If you are using the content plugin you can use the following two syntax.The content plugin can be used inside Joomla Articles or Custom Module.
To fetch from folder :
{fullscreen folder="images/woo/" thumbheight="100" thumbwidth="100" width="100%" padding="2"}
The above shortcode accepts the following attributes.
- folder : Set the path of your images folder. Example : folder="images/woo/"
- thumbheight : Set the height of the thumbnail image. Don't use px. Example : thumbheight="100"
- thumbwidth : Set the width of the thumbnail image. Don't use px. Example : thumbwidth ="100"
- padding : You can set the padding around the thumbnail. Example : padding="2" which means 2 pixles.
Fetch Individual Images with Title
{fullscreen image="images/woo/1.jpg,images/woo/2.jpg,images/woo/3.jpg" title="Title1,Title2,Title3" thumbheight="100" thumbwidth="100" }
The above shortcode accepts following attributes:
- image: Set the complete path of the individual images.
- title : Set the title of the images sequentially like the images.
- thumbheight : Set the height of the thumbnail image. Don't use px. Example : thumbheight="100"
- thumbwidth : Set the width of the thumbnail image. Don't use px. Example : thumbwidth ="100"
- padding : You can set the padding around the thumbnail. Example : padding="2" which means 2 pixles.
The plugin settings are settings are same as the module settings as mentioned above.
Troublesettings
- Check if the images path are correct.
- Check properly that you have activated the module in an existing template position.