
Testimonial Fader
Installation

- Download the TestimonialFader_UNZIP.zip file from the email you have received after purchasing the extension or from the Store website.
- UNZIP the file TestimonialFader_UNZIP.zip. You will find a ReadMe.txt file and installation file (pkg_testimonial_fader_vX.x.zip).
- To install the file open the backend Administrator and go to Extensions > Manage > Install menu.
- Choose the option Upload Package File and select pkg_testimonial_fader_vX.x.zip.
- Upon successful installation you see the message "Installation of the module was successful."
- This will install both Module and the Component.
Module Setup
- After successful installation of the module, go to Extension > Modules and Search for Testimonial Fader. If you don't find it in the modules page then click on the New button in the top left corner of the page and add Testimonial Fader Module.
- After opening or adding a New instance of theTestimonial Fader module you can find different tabs with different parameters to set.
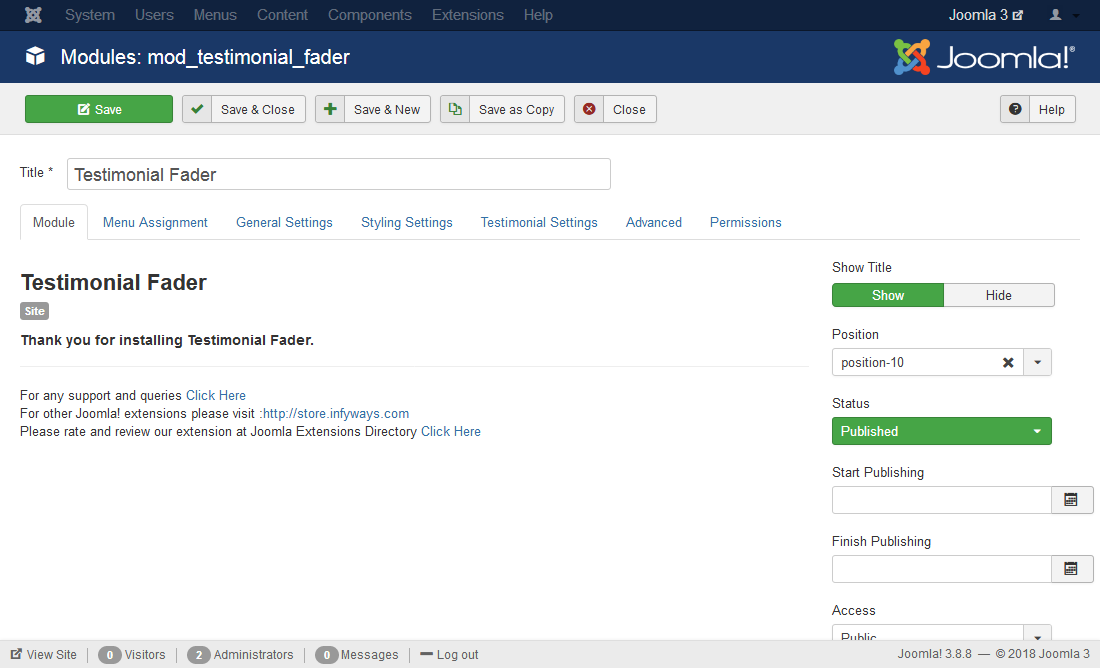
Module Tab Options
Show Title : Set the title of the Module to Hide if you don't want the title to appear in the frontend.
Position : Set the position of the module where you would like the slideshow to appear.
Menu Assignment Tab
To assign the module to a particular menu or all the menu go through the following documentation.
https://docs.joomla.org/How_do_you_assign_a_module_to_specific_pages%3F
General Settings
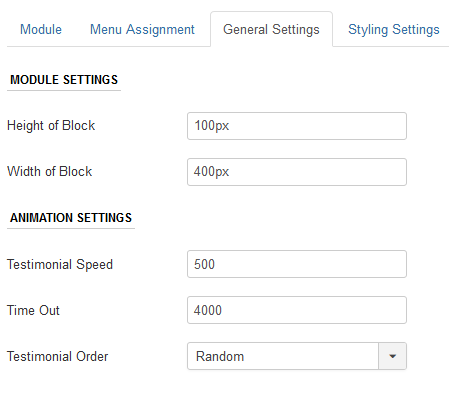
In general settings tab you can set the dimension and animation settings of the testimonial fader module.
- Height of Block : Set the maximum height of the testimonial fader block. It has to be in pixels. Example : 100px
- Width of Block : Se the maximum width of the testimonial fader block. Ex: 400px
- Testimonial Speed : Sets the time period of the animation effect to be displayed for a testimonial.
- Timeout : Defines the time delay between two testimonials. All units are in milliseconds.
- Testimonial Order : Set the order in which you would like the testimonials to appear. You can choose Random or Sequential.
Form Module
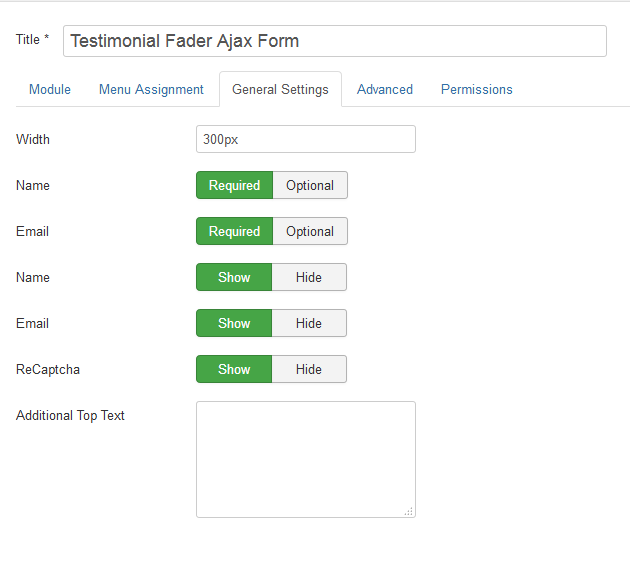
Testimonial Fader Ajax Module (Version 5.2 onwards)
Using the module, the testimonial form can be submitted without page refresh.
The module can be published in any of the module positions available in the template. The text and the reCAPTCHA can be configured in the Component Options. All other functionalities can be managed in the General Settings of the module.
- Width : The width of the form can be in percentage(%) or pixels. Example : 100% or 300px.
- Additional Top Text : HTML or plain text can be added to the top of the form.
Styling Settings
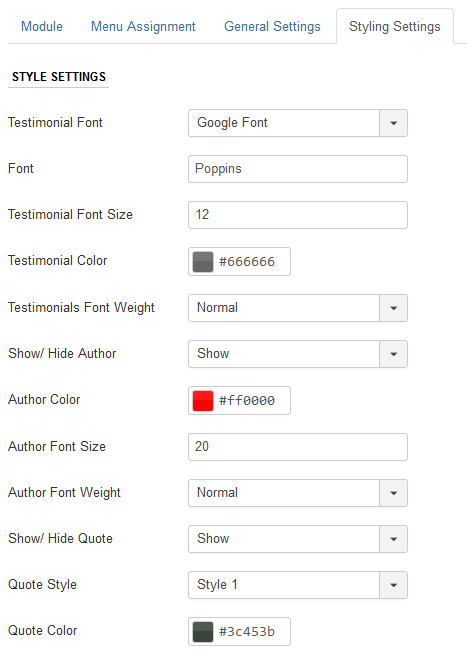
In Styling Settings you can set the testimonial font style, author style and quote styles of the Testimonial Fader Module.
- Testimonial Font : You can use your own font, Google Fonts or the template default font.
- Font : If you want to use Google Fonts then go to https://fonts.google.com/, select a font name and add it to the field. For example you want to use Open Sans font the just mention Open+Sans in the field.
- Testimonial Font Size : Set the size of the fonts in pixels. Ex : 14, which means 14px.
- Testimonial Color : Select the color of the testimonial which you would like to appear.
- Testimonial Font Weight : Set the font weight to bold or normal.
- Show/Hide Author : Option to show or hide the Author of the testimonial.
- Author Color : Select the color of the Author
- Author Font Size: Set the size of the fonts in pixels. Ex : 12, which means 12px.
- Author Font Weight : Set the font weight to bold or normal.
- Show/Hide Quote : Option to show or hide the quotes of the testimonial.
- Quote Style : Select the quote style from the list of 8 different styles.
- Quote Color : Set the quote color of the testimonial.
Testimonial Settings

In the testimonial settings you can set the testimonial source, limit the characters.
- Testimonial Source : You can either select the source to component or from the module which has to be added using the slides option.
- Read More : You can link the testimonials to open in a new page, inside a popup or set to none.
- Number of Character: Number of characters to appear per testimonial. The rest characters will be stripped.
- Read More Link : The option will appear only if the Read More is set to "Link to a Page".
- Read More Text : Add the read more text which you would like to appear.
- Open In : Option to open the read more link in a new or same page. The option works only when the Read more is set to "Link to a page"
- Slides : Click on the (+) button to add a new slide. Once clicked, the option to add Author and Testimonial will appear. Fill it if you want the testimonial source to be Module.
Advanced

In the advanced settings you can find the jQuery Control and Extra CSS parameter.
- Include jQuery Files : You can include the jQuery files of the slideshow inside the head tag or in the body to avoid any jQuery conflicts with other modules.
- Extra CSS: You can add extra CSS into the module parameters easily without modifying any template CSS files.
Component Settings
After setting the module, Go to the backend Components > Testimonial Fader and click on the options in the right top side of the screen. Upon clicking the following options will appear.
Email Settings
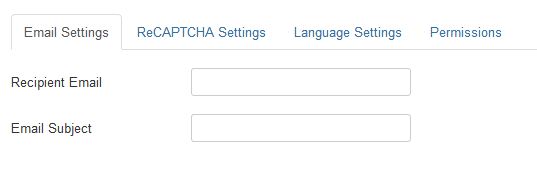
- Recipient Email : Enter the email where you would like the email notifications to be send once a visitor adds a new testimonial in the component frontend. More than 1 recipient can be added using comma. Example : abc@example.com,xyz@example.com
- Email Subject : Set the email subject you would like for the testimonial notification email which will be sent to the above email addresses. Example : New Testimonial Added.
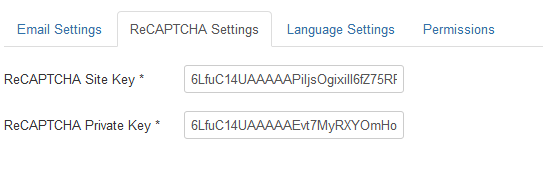
ReCAPTCHA Settings
To get a site and secret key for your domain, go to https://www.google.com/recaptcha. Get Version 2 reCaptcha and add the ReCAPATCHA Site Key and ReCAPTCHA Private Key
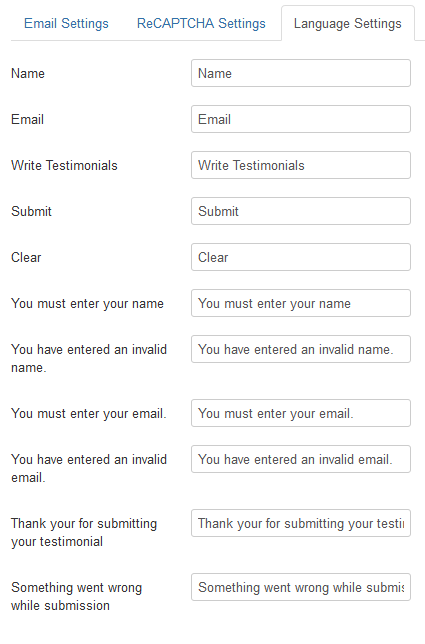
Language Settings
The language of the form and the messages can be set in the language settings.
Menu Settings
If you are looking to setup the menu item, then the component gives you a Form and List Testimonial view which can be used to show the list testimonials and and also the form to submit the testimonials.
To add Menu, go to Menus in backend and click on Add New Item.
- Select the menu type and Click on Testimonial Fader, the above three options will appear.
- Select the one you would like to have and go to the options tab to set the other parameters like pagination and order.
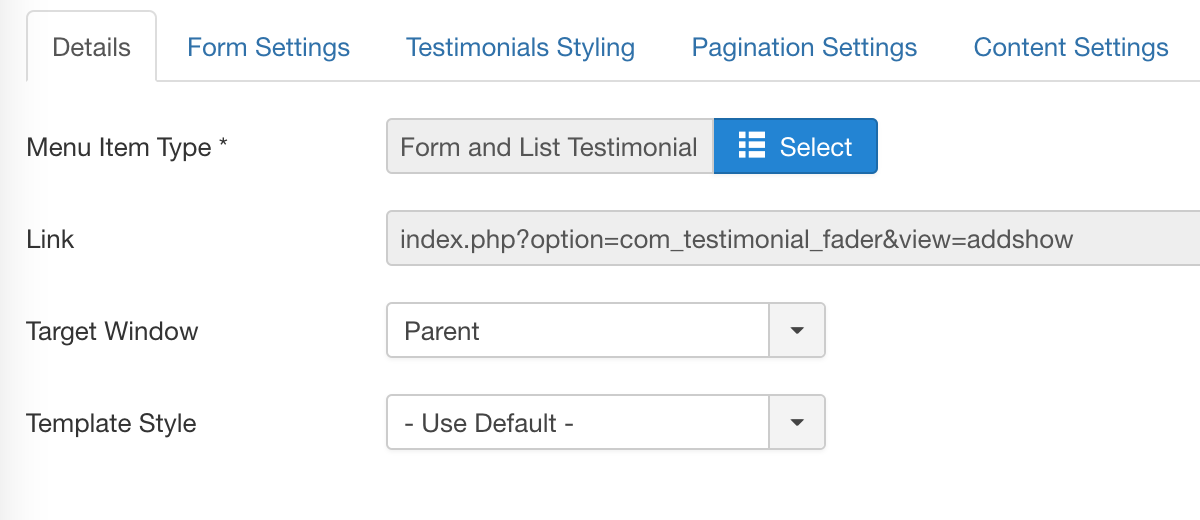
The form settings, testimonial styling pagination settings and the content settings for the frontend view can be changed in the menu tabs.